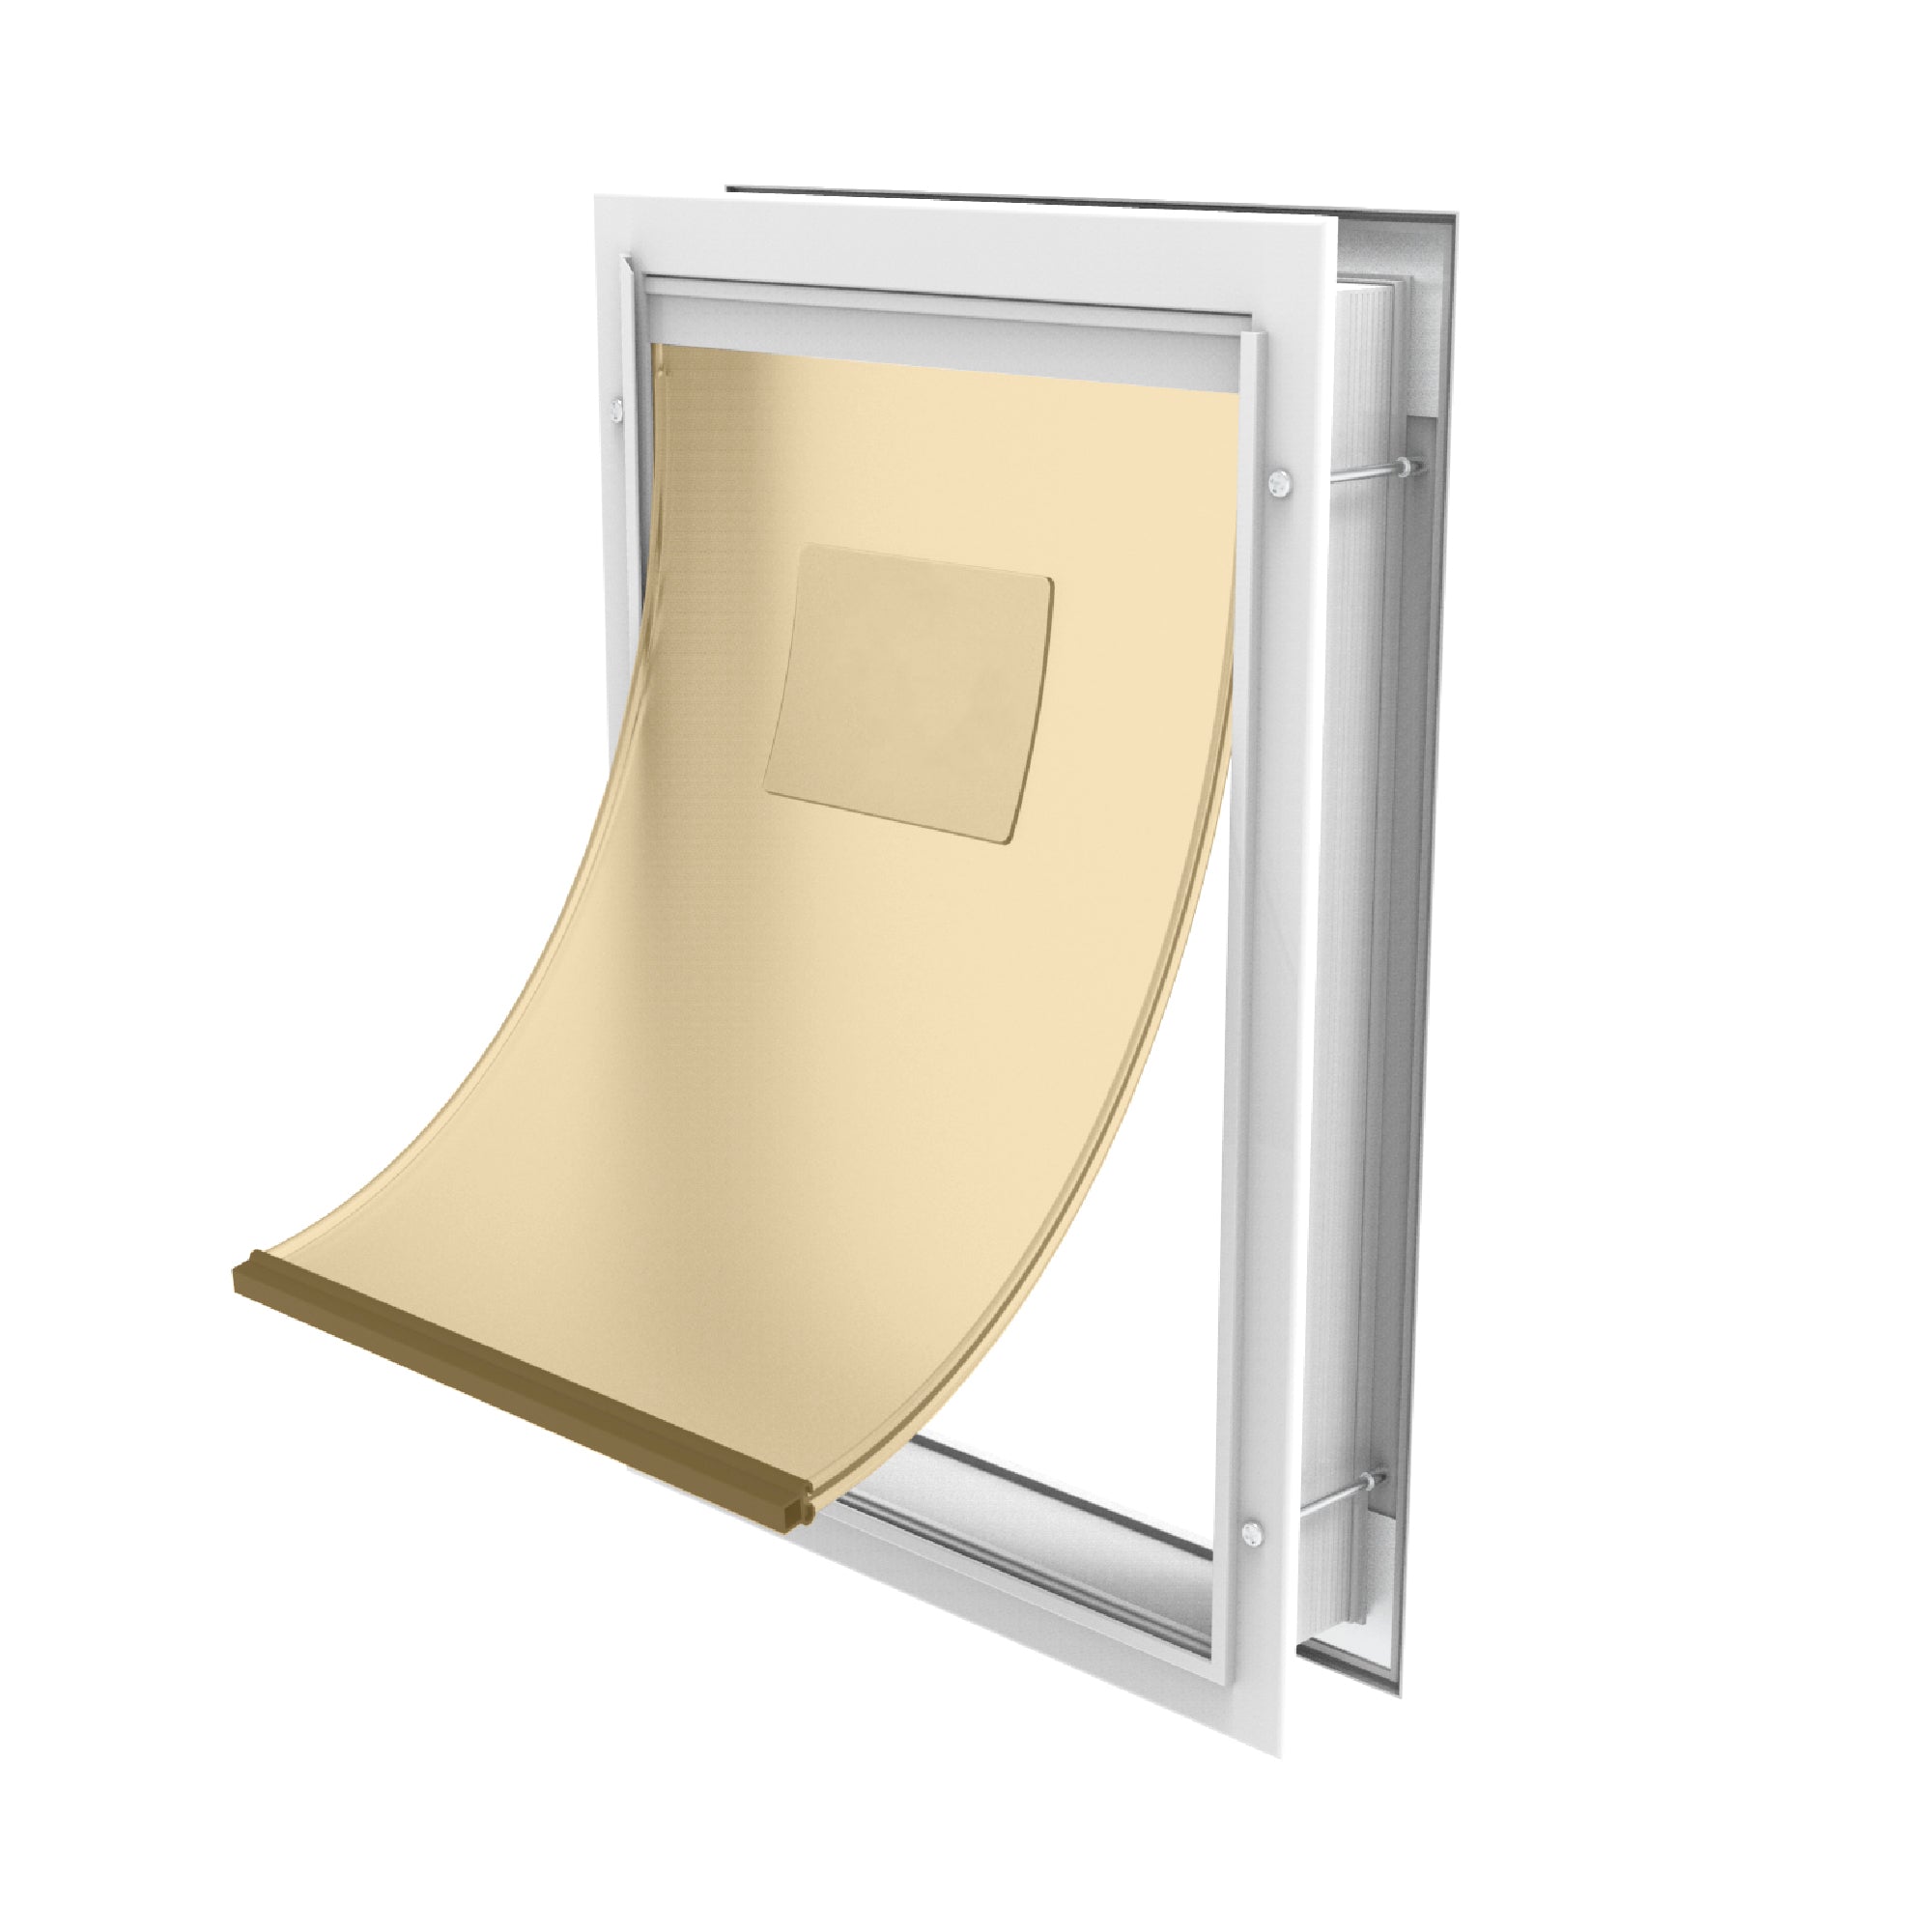
Replacement flap – with included magnet – for the Hakuna Pets Deluxe Aluminium Pet Door.
🔔 Which flap version should I get?
| Purchase From Our Website |
Purchase Outside Our Website |
|
| From Nov 2023 | V2 | V1 or V2 - read below |
| Jan 2018 - Nov 2023 | V1 or V2 - read below | V1 or V2 - read below |
| Before 2018 | contact us | contact us |

| Size | V1 Flap |
V2 Flap |
| Small | 6.9" x 9.5" | 6.7" x 9.1" |
| Medium | 8.9" x 12.6" | 8.9" x 12" |
| Large | 11" x 16.1" | 11" x 15.9" |
| Extra Large | 14.6" x 23.4" | 14.6" x 23" |
*Replacement flap only, pet door not included.
Measurements may vary 1mm - 5mm, if you are unsure with your flap measurements, please reach out to customer support.
Draft and weather-resistant: Fitted with a thick brush seal to block drafts. Strong Magnet keeps the flap centred after each use.
Durable Construction: Clear flexible PVC flap.
| Model | Deluxe Aluminium Pet Door Replacement Flap |
| SKU |
Small V1 - #2820 Small V2 - #5016 Medium V1 - #2822 Medium V2 - #5017 Large V1 - #2823 Large V2 - #5018 Extra Large V1- #2824 Extra Large V2 - #5019 |
| Parts Included |
V1 - Replacement Flap (1), Rubber Shim (1) V2 - Replacement Flap (1) |
| Materials | PVC, Magnet |
TIP: For less noise or magnet strength, adjust the flap to a higher position.